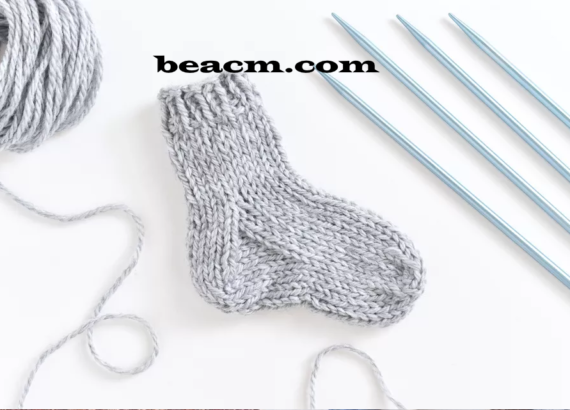
How to knit a small sock with a step-by-step exercise pattern
How to knit a small sock with a step-by-step exercise pattern
If you want to learn how to knit socks, but this is intimidating, start small. The most difficult part of knitting socks is often understanding the shape and construction. By the end of this project you will understand it and your sock-knitting fears will be gone!
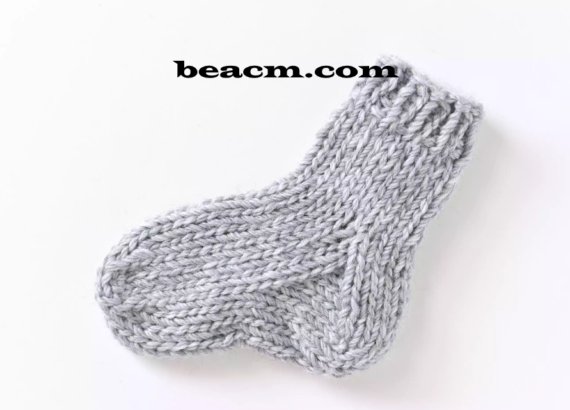
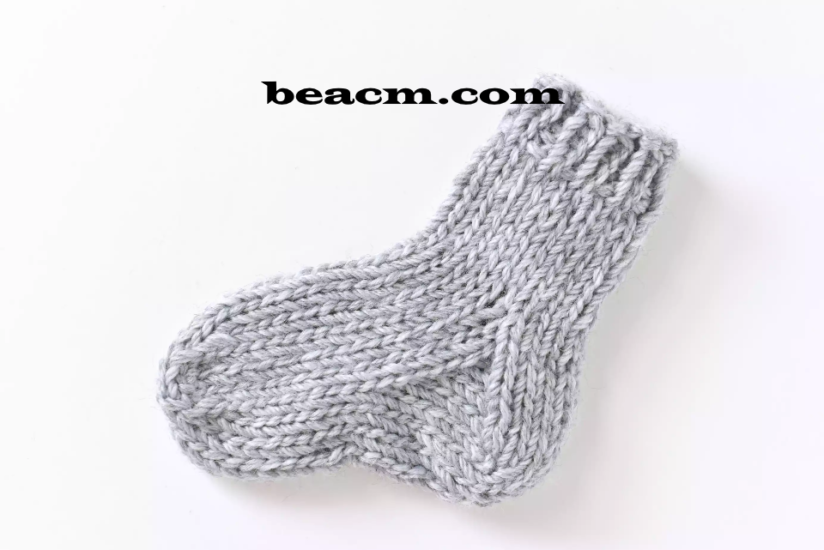
Your finished sock is the size of a baby and you can knit another sock if you want. Even if you are not knitting this for someone, it is a good example project to learn some skills.
What you will need?
Equipment
- 1 pair of scissors
- 1 yarn needle
- 1 ruler or measuring tape
- 1 US double pointed needles size 7 (set of 4)
Materials
- 1 piece of worsted yarn, approx. 20 meters
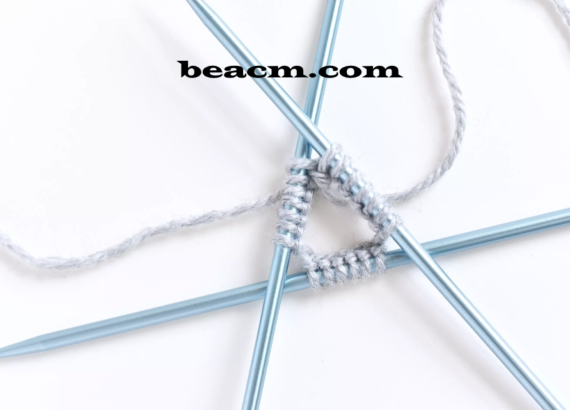
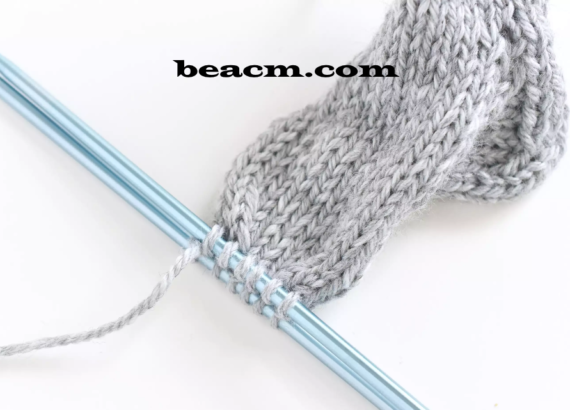
Start up and join in
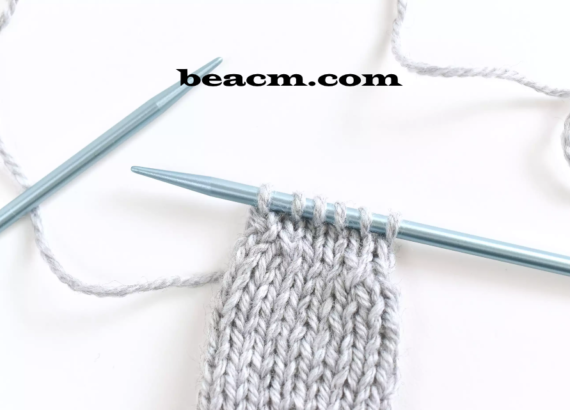
At the beginning put 20 stitches on a needle.
- Spread the stitches over three of the four needles.
- Push the stitches to the end of the needle, starting with the first stitch.
- Push 7 stitches one after the other onto another needle.
- Push the next 6 stitches onto a third needle.
Once the stitches are evenly distributed, join the work in the round.
- Push the first stitch onto the needle with the last stitch.
- Slide the last stitch over the first stitch and onto the last needle.
At this point you can slide a stitch holder on the needle to mark the end of the row. Or you can find out where the tail of your cast is. This is the end of the row.
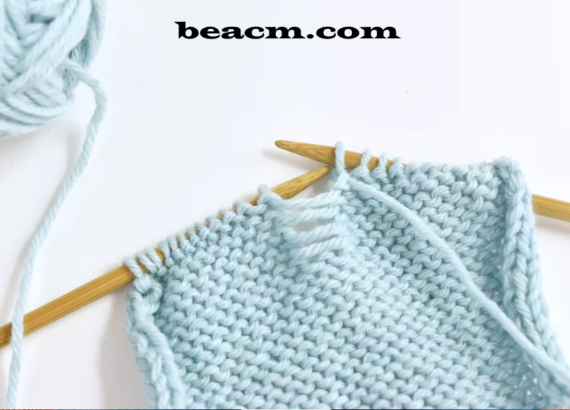
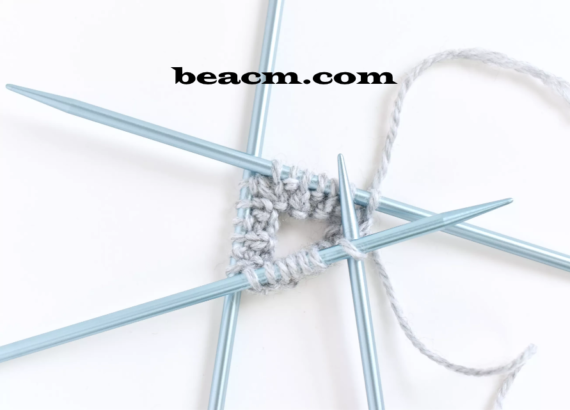
Knitting the ribs
Knit 1 knit, knit 1 rib for 4 rounds.
Use the fourth needle to work over the stitches of one needle. After this needle is empty, work over the next needle and so on.
If you are not familiar with double-pointed needles, you may need to knit a little slower than usual. Once you have knitted a few rounds, the work will start to flow and feel much more stable.
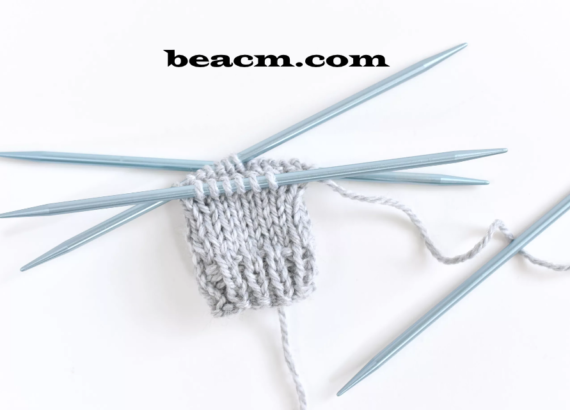
Knitting the leg
Knit each round for one inch. When knitting in the round, knitting each row gives a stockinette stitch.
The leg is the part of the sock that often has interesting stitch patterns or cables worked into it. But if you are learning for the first time, a simple stockinette will make it easier to get started.
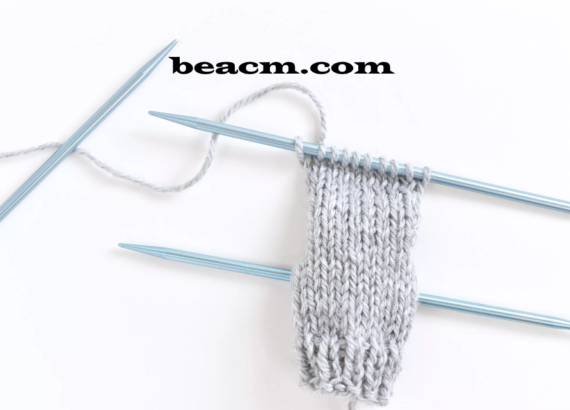
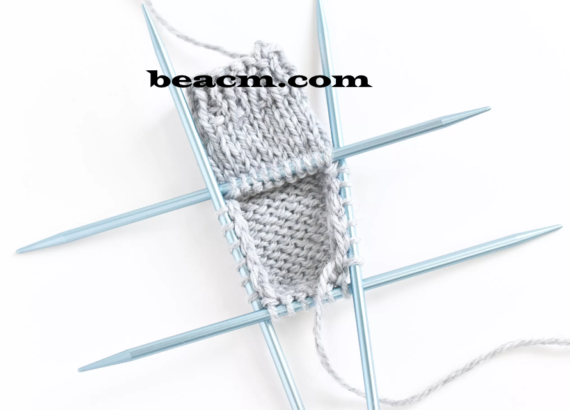
Knit the heel flap
There are different methods of knitting a heel, but one of the most common is to use a heel flap and then “twist the heel”.
Knit the first 10 stitches of the round on a needle.
To make it easier, put the other 10 stitches on a needle and let them hang while you work on the other stitches.
Knit the heel flap with a double row repeat:
Row 1 (wrong side): Push the first stitch with the yarn forward and the rest of the stitches.
Row 2: Push the first stitch back with the yarn and knit the rest of the stitches.
Repeat these two rows four more times until you have worked a total of 10 rows and end on the knitting side.
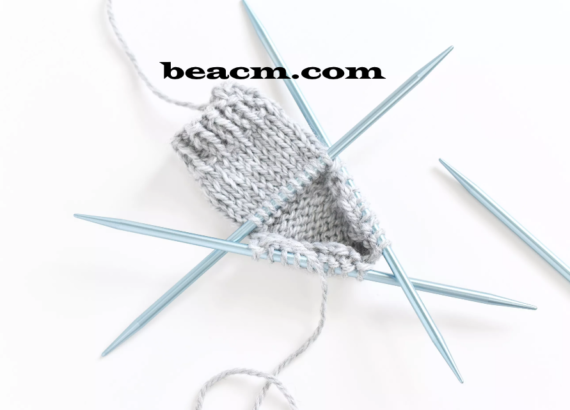
Turn the heel
Rotating the heel is a common way to make the cup fit your heel when you are wearing the sock. This method uses short rows, turns the work and knits back over the stitches you just worked without knitting over the whole row.
As before, push the stitches forward with the yarn.
- Row 1: slip 1, purl 5, purl 2 together, purl one. Turn the work and leave one stitch unfinished.
- Row 2: Panty 1, Knit 3, Panty, Knit (SSK), Knit 1 Turn the work and leave one stitch unfinished.
- Row 3: Panty 1, purl 4, purl 2 together. Turn the work. There are no unfinished stitches.
- Row 4: Panty 1, Knit 4, SSK. There are no unfinished stitches. Six stitches remain on the needle.
Pick up stitches and divide them again
The gusset of a sock knits the leg stitches and the heel stitches together again. It shapes the sock so that it fits around the heel and the top of the foot.
- Take an empty needle, take six stitches along the heel flap and knit. The stitches should be easy to find as they are the slipped stitches along the edge of the heel flap.
- Use a different needle to knit over the 10 stitches of the leg you left unfinished when making the heel flap.
- Use the new empty needle to pick up and knit six stitches along the second side of the heel flap. Knit three stitches from the heel itself.
- Slide the last three stitches of the heel onto the needle with the first stitches you picked up. Use the new empty needle and knit the three stitches together with the first stitches you picked up.
Work on the gusset
The stitches from the leg are on needle one, the next needle is needle 2 and the needle you have just knitted is needle 3.
Now it is time to form the gusset.
- Row one: knit over the first needle. On the second needle 1, SSK and knit to the end of the needle. On the third needle knit up to 3 stitches from the end of the row, knit two stitches together and knit the last stitch.
- Row 2: Knit each stitch.
- Repeat these two rows until you have five stitches each on the second and third needle. A total of 20 stitches.
Knitting the foot
Once you have formed the gusset and have 20 stitches again, knit each stitch in each round for another centimetre. This makes the foot part of the sock.
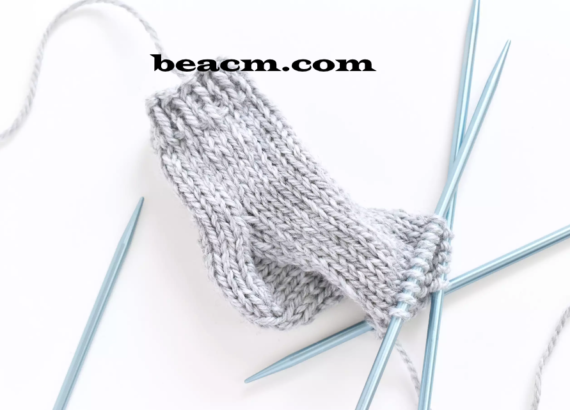
Knit sock toe
Now shape the toe of the sock. The stitches are still on needle one at the top of the sock, followed by needle two and needle three.
- Row 1: On needle 1 1, knit SSK up to the last three stitches, knit 2 together, knit 1. On needle 2 1, SSK and knit to the end. On needle 3 knit up to the last three stitches, knit 2 together, knit 1.
- Row 2: Knit every stitch.
- Row 3: Repeat row 1. You have 12 stitches left.
- Push the stitches from needle two to needle three so you have two needles with 6 stitches each.
Finish the sock
To finish the sock, practice the standard method for closing a sock, called a plug or Kitchener stitch. Weave in the ends.
Watch now: How to use the Kitchener Stitch for grafting
Now that you know the basics of making a sock, you can make a matching sock as a gift or fill it with lavender to use as a bag!