To start your first knitting project
To start your first knitting project
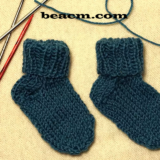
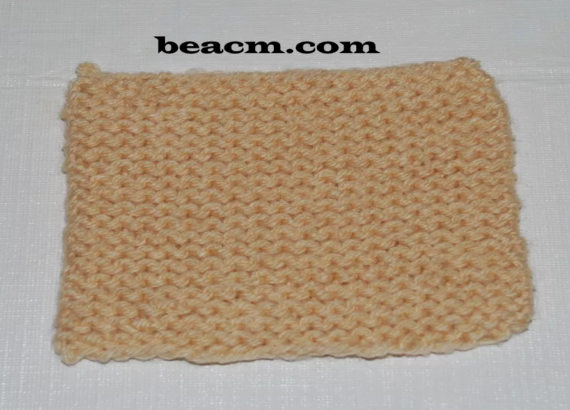
If you are a brand new knitter and are wondering where to start, you have come to the right place. This simple knitting square is the perfect first project. You’ll learn all the basics of knitting: applying, knitting, tying and weaving ends. When you’re finished, you can use the square as a coaster, even if it doesn’t look perfect.
A knitter with a lot of experience will have very even stitches and yours may not look like the tutorial, but that will come with time. Don’t be discouraged if your sample doesn’t match the examples exactly. The point is to practice and get familiar with knitting a small project without investing a lot of time or material.
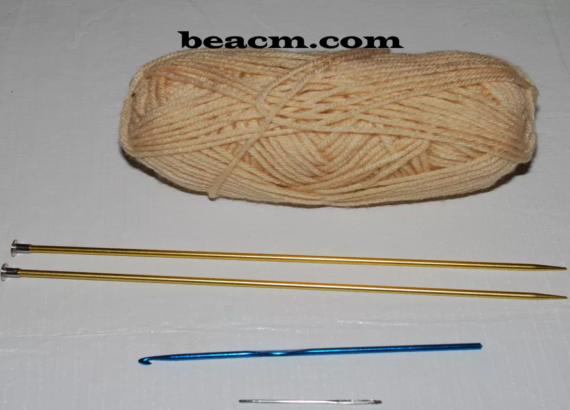
What you will need
Equipment
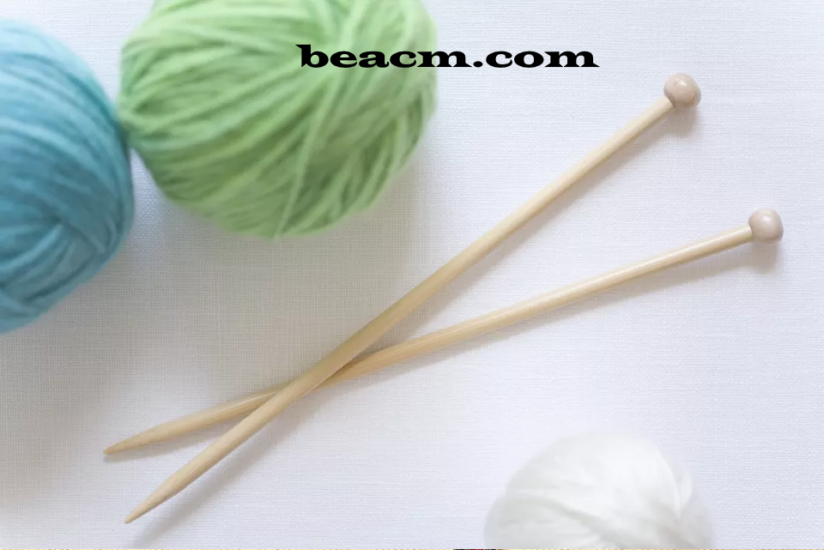
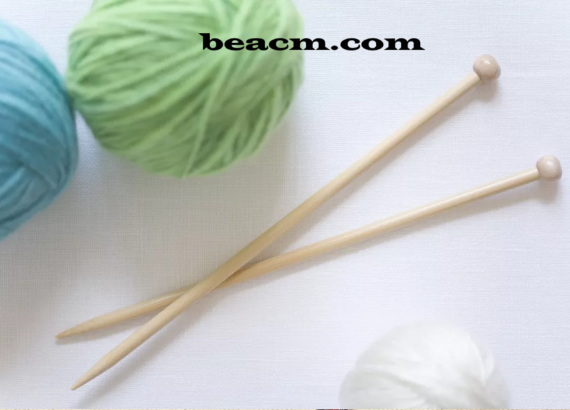
- Pair of 10 inch long knitting needles (aluminium or bamboo)
- Pair of scissors
- Needle with blunt end or crochet hook
Materials
- Ball of medium-heavy yarn (acrylic or wool)
Steps to do it
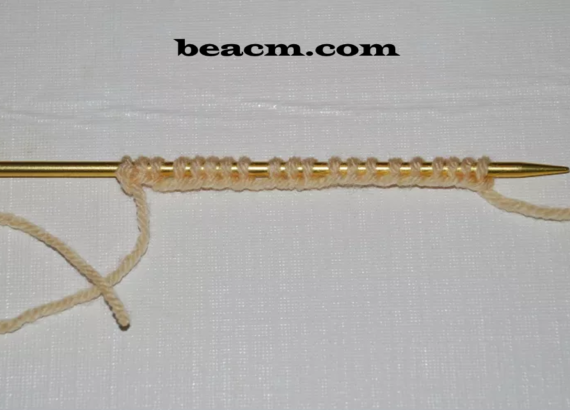
Cast on
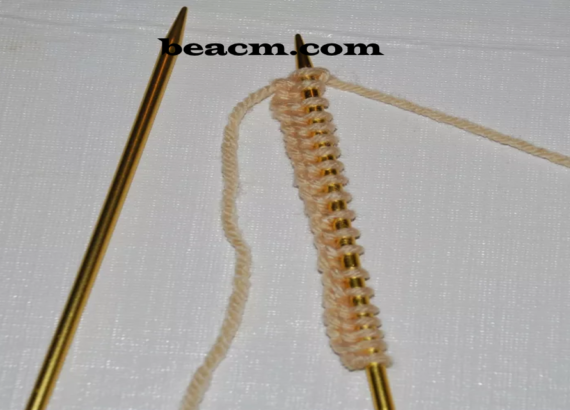
To start a knitting project, you need to make the stitches on the needle, which you then knit to shape the fabric. This is called casting on
There are many different methods of casting on, but two of the easiest for new knitters are wrapping and knitting.
- Doing a knitting cast is practical because you basically learn how to do the knitting stitch at the same time.
- Winding is also quick and easy, although it is not quite as hard.
You may want to practice a little before you make the final cast for your knitting. When practicing, make sure that all loops are stretched relatively evenly, as this will affect the rest of the project.
- Just strike with one (or both) methods, check your work and pull the stitches from the needles.
- Do this as often as you like until you feel comfortable with the technique.
- In the future you will use one cast for each knitting project, so it’s good to get a feel for it right away.
When you are ready to start the project yourself, apply 20 stitches in the method of your choice.
Knit the first row
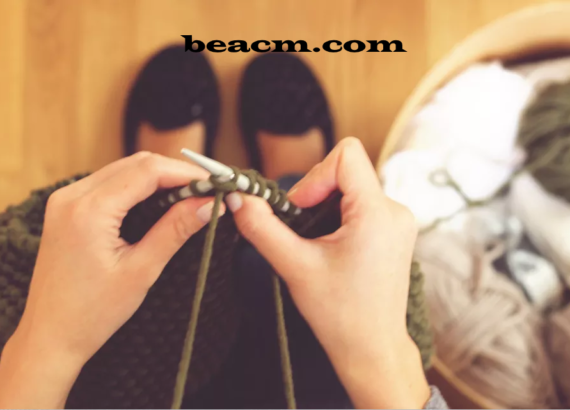
After you have created your stitches, you can start shaping the knitting stitches.
Place the needle with the stitches in your left hand and the empty needle in your right hand. Hold the needles in the way that feels most comfortable for you.
- Insert the tip of the right needle from front to back into the stitch on top of the left needle.
- Wrap the thread coming from the ball counterclockwise around the right needle.
- Pull this thread loop through in front of the left needle and slide the original loop off the left needle.
Continue with this method until all stitches of the left needle have been processed and are on the right needle.
Knit the second row
The knitting of the second row and all subsequent rows of your project is exactly the same as the first. Simply turn the work over and put the needle full of stitches back in your left hand. You should see the bumpy side of the stitches you just knitted. Knit over the entire row and at the end turn the work over and start again.

Stop knitting
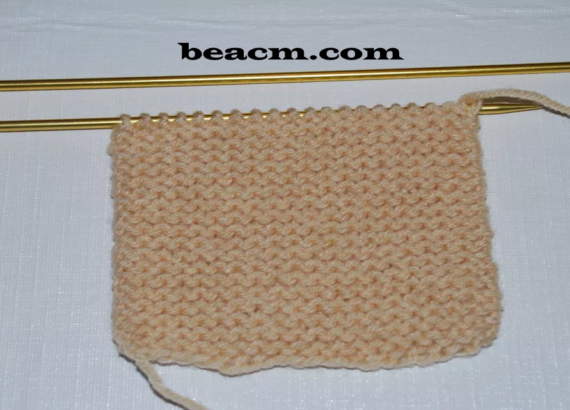
Now that you have the hang of it, just keep going until you want to call your job done.
Knit at least until the project becomes a square with about 38 rows. This gives you a good amount of practice, but you can make yours as long or short as you like
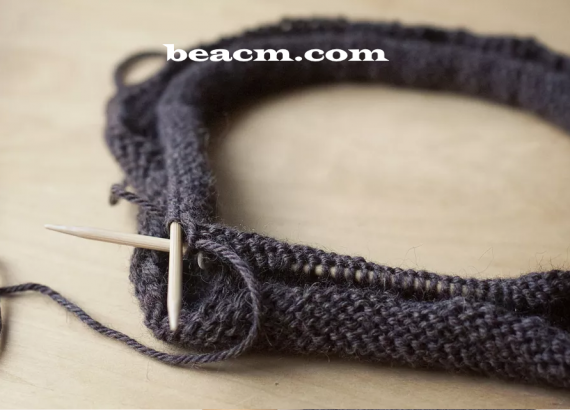
Tie up the work
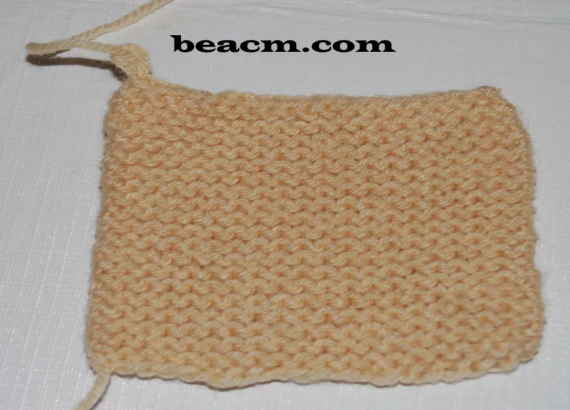
Are you ready to call your project finished? First, you need to remove these stitches from the needle so that the edge is finished, so that your hard work doesn’t unravel.
This is called binding or sometimes filing and is very easy.
- Knit two stitches as usual.
- Use your left needle tip to pick up the first stitch you are knitting and slide it up and over the second stitch you are knitting and the tip of the right needle. This leaves one stitch on the right needle.
- Continue in this way until you have one stitch on the right needle and none on the left needle.
- Cut your yarn that is attached to the ball and leave about 15 cm.
- Push the last loop off the knitting needle and thread the thread through.
- Pull tight and you are done (well, almost).
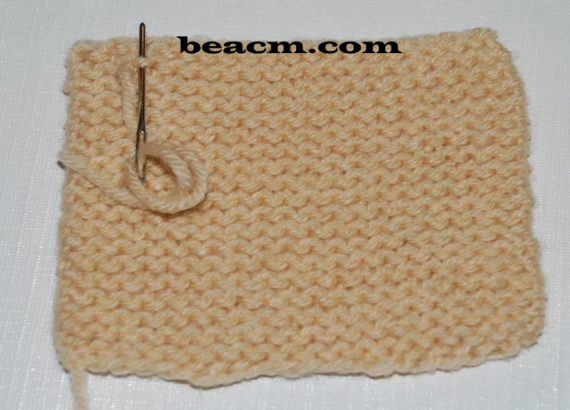
Weaving in the ends
Since this project is really just for practice (and, frankly, could look pretty scary), it’s not really necessary to weave in the ends. However, if you want to run through all the movements of a real knitting project or use this piece as a coaster, you will want to weave the ends in.
Weaving in the ends is essential for knitting projects because it hides the loose yarn ends and keeps everything nice and finished so you can use the finished project.
You can do this either by threading the end onto a yarn needle and weaving it into some of the stitches or by doing the same with a crochet needle.
Use your knitting project
If you want to use this knitting project in your daily life, try it as a coaster. Or knit a bundle and sew it together to make a bag, table runner or scarf. You can also just keep knitting and knitting until you get a long piece and have your first scarf.
Once you are familiar with knitting, learn how to knit and get to know some simple knitting patterns for beginners.
To repair a fall stitch
If you have holes in your knit, count the number of stitches on your knitting needle to make sure you still have 20 (count every few rows to be sure). In this project it doesn’t matter if it gets a little wider or a little narrower, but the goal is to maintain the same number of stitches you started with as you go through the project.
You may notice a hole and a loop that has not been sewn into the fabric. Knitters call this a fall stitch and it happens to everyone. There are ways to fix the problem, but it is not necessary for this project because you are only practicing.
The falling stitch was probably the result of this loop slipping off the end of the needle, and it’s just something you should keep in mind in the future.