Back Loop Crochet Tutorial
Back Loop Crochet Tutorial
How to do Back Loop Crochet
Change the appearance of the simple crochet stitches when crocheting through the back loop only. If you insert your hook through only one of the stitch loops, you can create rib and groove crochet work that stretches but stays solid.
Crocheting Back Loop (or Front Loop!) is not too mysterious. Once you know how to make simple crochet stitches – even single crochets – you can do it.
Some patterns that use crochet with back loop have different names or abbreviations for this variation of basic stitches. You can see it only as back loop (blo), through back loop (tbl) or simply as back loop (bl). The same applies to crocheting through the front loop with similar abbreviations.
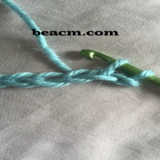
The first step is to become familiar with the loops of the crochet stitches. So take some DK or worsted yarn and a crochet hook in a size that corresponds to your yarn and try it out.
Note: US crochet terms are used in this tutorial, but for British terms the procedure is the same.
Look at the Stitch Row
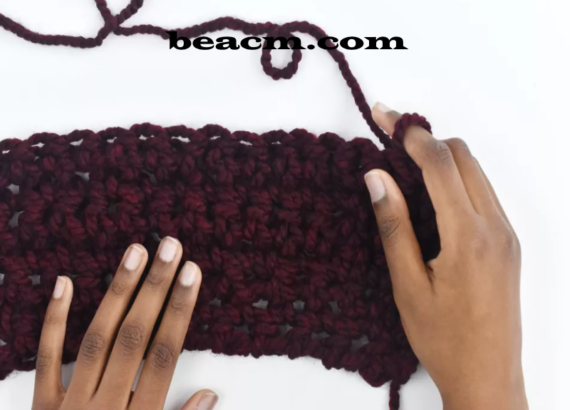
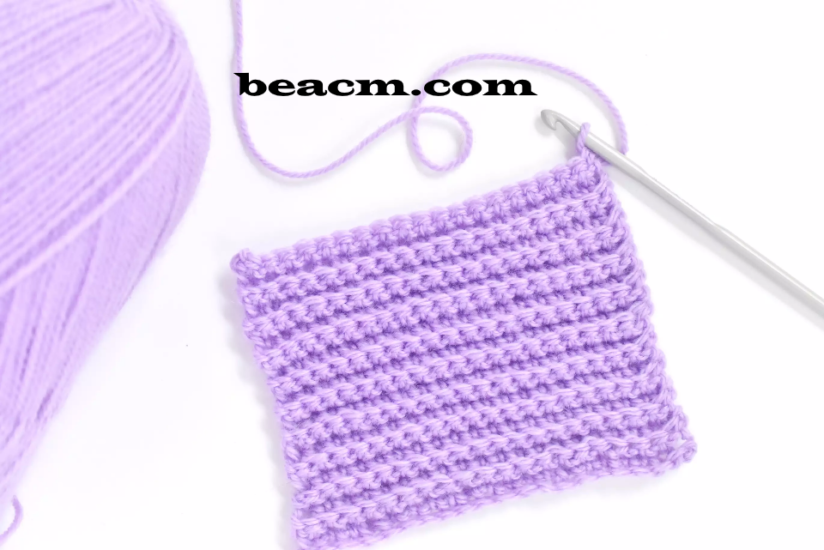
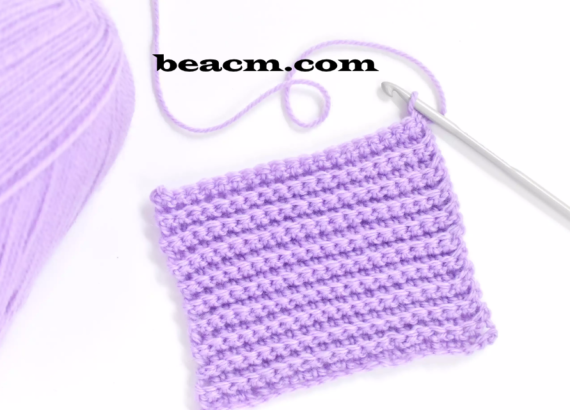
To keep this exercise pattern simple, start with a chain of 10 to 20 stitches and then work a series of single crochets.
Usually when crocheting, you tend to look at the side of the faces you have. Look at the row from above to see how crocheting with back loop works.
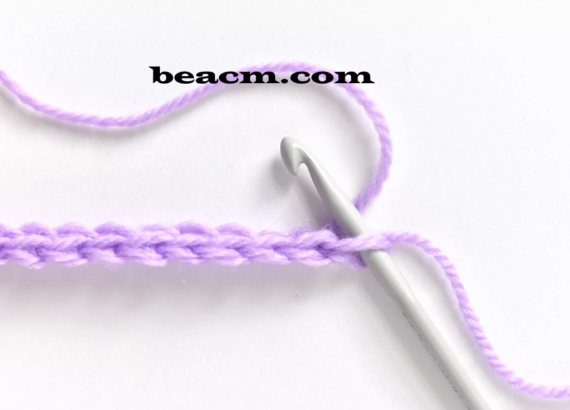
Each stitch looks like a V, with the top of the V facing towards the hook and the bottom of the V facing away from the hook. Each side of the V is one of the loops.
Where to Insert the Hook for Normal Crochet
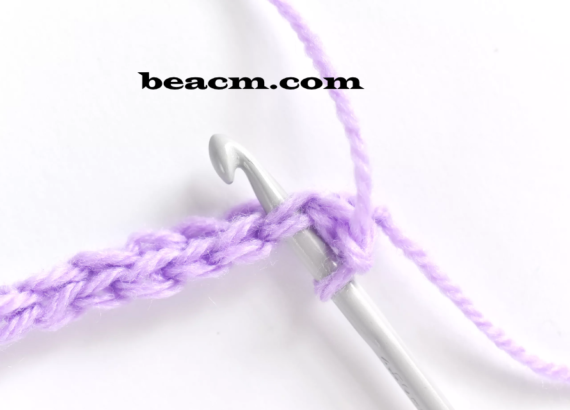
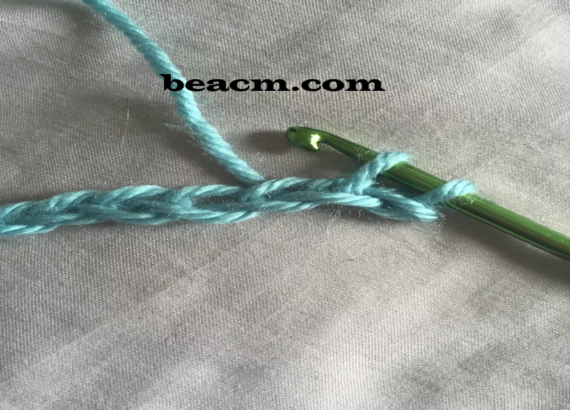
At first it is helpful to see how the hook is inserted for standard crochet stitches. When forming normal stitches, pass the hook through both loops as shown above.
With the hook loops of the stitch you will see one loop closer to you (the front loop) and one loop further away from you (the back loop).
Now that you see the difference, it is time to remove the hook and crochet through the back loop.
Where to insert the hook for crochet
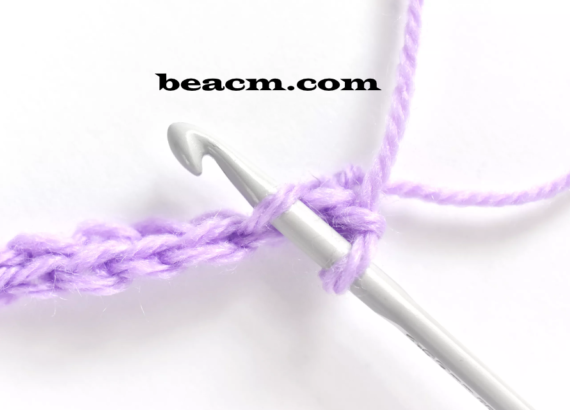
To crochet the back loop, pass your hook through the back loop only and perform the stitch as usual.
If you crochet half double, double and triple, wrap the yarn around the hook as usual and work into the back loop. Then finish the stitch.
Crochet Further Only in the Back Loop
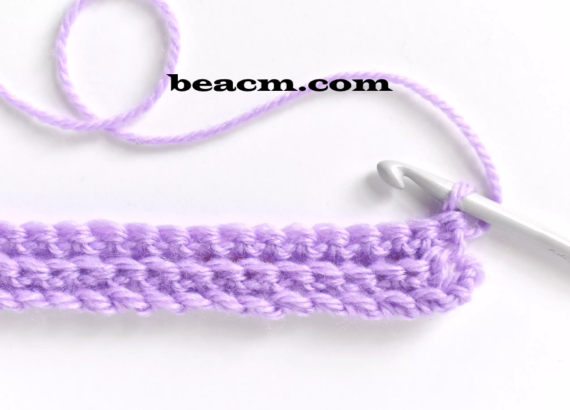
When you have reached the end of the row, make your rotating chain and turn your work.
To edit the next row again, work in the back loop. Even after turning, the back loop is always the one further away from you.
If you make a few rows, the ridges or ribs will become visible.
Possibilities for Using This Technique
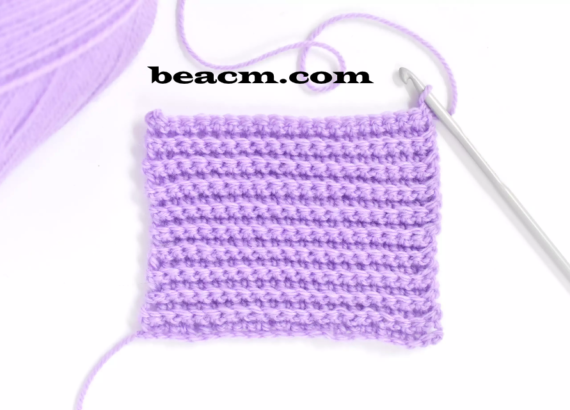
The ribs created by crocheting the back loop can be helpful to add ribs to the cuffs and hems of the sweater. This technique is also often used with Amigurumi.
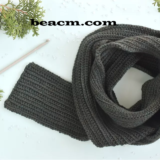
For a different look, but using almost the same method, work your stitches only through the front loop. This version has less prominent ribs and creates a more open crochet fabric. FLO stitches appear in this men’s slip stitch scarf (scarves)..
You can even switch between the front and back loop on each stitch to create a very textured style.
Make a few color patches to try out this technique and you’ll be ready for the next time a pattern goes through just one loop.