How to knit the stockinette stitch
How to knit the stockinette stitch
Most knitting patterns do not explain this basic stitch

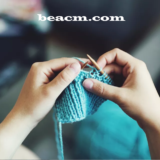
Stockinette (or stocking stitch) is a basic stitch that most knitting patterns do not explain because they assume that it is already included in the craftsman’s repertoire. If you are an experienced knitter, you are probably already well on your way to understanding this stitch and may even use it regularly.
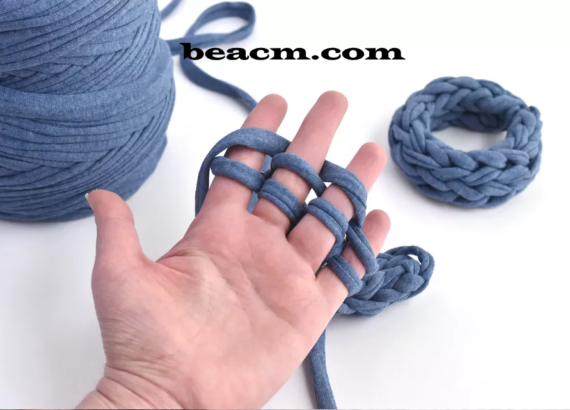
You will start learning the knitting stitch. Once this stitch is mastered, you will learn to clean. Next, you will learn that if the knit stitch is repeated in each row (or vice versa if the stitch is repeated in each row), a “garter stitch” pattern will be obtained. However, if you knit one row, clean the next and repeat this process one after the other, the most classic pattern of all will be created, called a stockinette stitch.
Stockinette Stitch Basics
Stockinette stitch works with any number of stitches per row and can be used for patterns that require both an odd and even number of stitches as long as you follow the pattern. However, when working in a round, a stockinette stitch is formed by knitting every stitch of each round. When you work in this way, do not remove any of the stitches because you do not change the direction of knitting.
A pattern for a flat knitted stockinette stitch looks something like this:
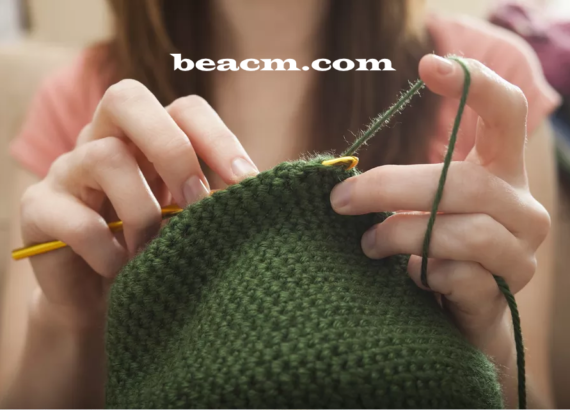
- Row 1: Overknit
- Line 2: Purl via
- Repeat these two rows until the desired length is reached.
Note: You may see a stockinette stitch, which is called “St st st” in a pattern. abbreviated in a pattern.
Stockinette stitch result
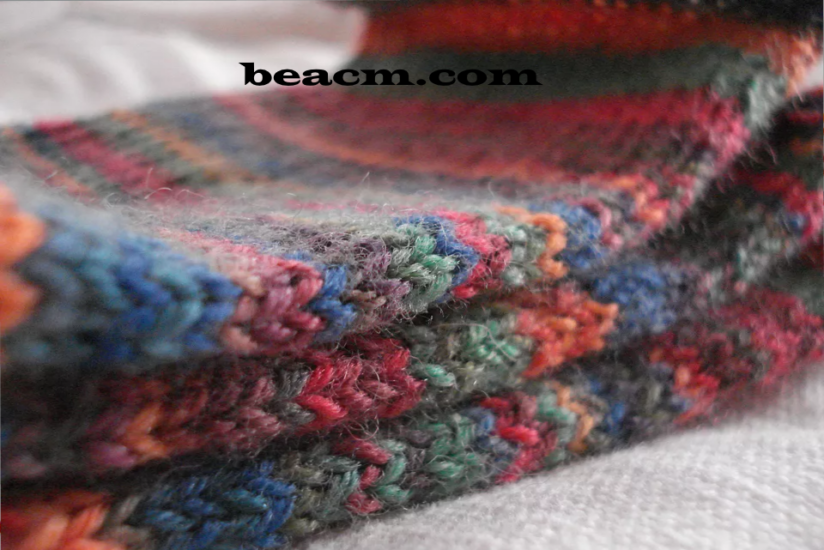
Stockinette stitch creates what is commonly known as “knitted fabric”. You will find it in sweaters, hats, scarves and all other handmade or machine-knitted garments purchased in stores. The “front” (or “right”) side of the fabric seems to contain a row of Vs, while the “back” (or “wrong”) side resembles rows of wavy ridges.
Alternatively, a reverse stockinette stitch is made when the first row is cleaned and the second row is knitted. In this way, the cleaned side (the wavy, bumpy side of the fabric) should be the front.
Stockinette stitch knitting pattern
Stockinette stitch is used in almost every knitting pattern. Try it on a simple project, like a simple hat pattern or baby socks. You can also just throw a dozen stitches on your needle and work the stockinette stitch back and forth to create a scarf. Creating one of these quick projects will give you the practice you need to master the stitch.
Stockinette stitch patterns are usually great for beginners. However, stockinette will still be implemented in advanced projects, even those that mix in complicated stitches.
Versatility of Stockinette Stitch
The versatility of the stockinette stitch is unparalleled. It is easy and it is easy to increase and decrease stitches without distorting the pattern. It knits quickly and is perfect for parts that need to be reproduced. Once you have practiced a little, you can knit stockinette stitches without worrying about what you are doing. This makes it a great stitch that you can tackle while watching TV or travelling.
Stockinette also provides a great setting for beautification. For example, you can easily add stripes to a project finished with stockinette stitches without changing the thickness of your needle or yarn. You can also add designs by adding a double stitch over an already knitted piece. Embroideries or beads added over this stitch can also make a project more interesting.
Finally, stockinette is often used to frame cables and other advanced patterns. These highly textured patterns stand out beautifully against the flat background that Stockinette has created.
Stockinette stitch disadvantages
One of the dangers of stockinette stitches is the infamous “curl” it creates on the edge of a garment when left to its own devices. Some yarns show this tendency more than others, but this stitch structure cannot always be predicted.
Some projects use the curl as an advantage – to edge sock cuffs or to create crimped scarves. And if your edges are sewn together for a sweater seam, the curl is only a nuisance if it needs to be flattened to check measurements. It has no effect on the appearance of your finished project.
For flat projects such as scarves and tea towels, avoid curling by adding a border of ribs, garter stitches, or other non-crimping pattern to the edges.