How to knit fingers
How to knit fingers
Did you know that there are many ways to knit without needles? Some still require special tools, but with finger knitting you have everything you need at your fingertips! Right, you can use just your fingers to knit chunky cords that are four stitches wide, and then use those cords to create all kinds of projects.
Finger knitting is great for kids, but it’s fun for adults too. And because you’re working on the stitches of your hand, you can take this craft anywhere as long as you have some yarn with you. Unlike arm knitting, which uses your arms instead of needles, this method is similar to loom knitting, with your fingers taking the place of the looms.
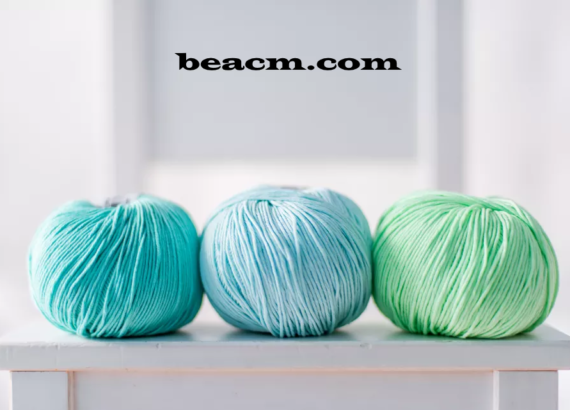
Working with bulky yarn gives the best results (the yarn in the sample is T-shirt yarn), but you can hold two threads of worsted yarn together for a similar look. Using one cord still works, but the knitting cord is much looser and does not have the density that some projects require.
What you will need
Equipment
- 1 pencil, crochet hook or similar shaped tool
Materials
- 1 bulky or super-bulky yarn
Instructions
Start weaving the yarn
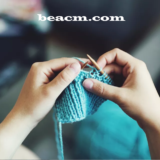
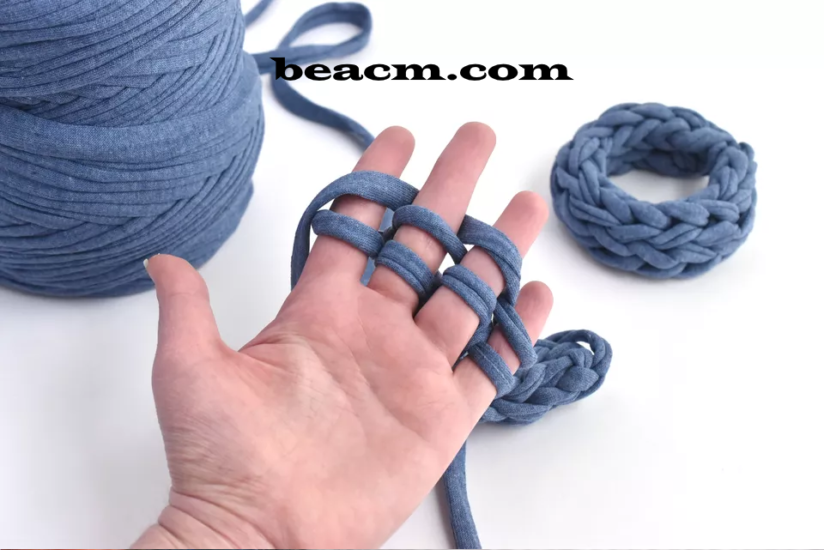
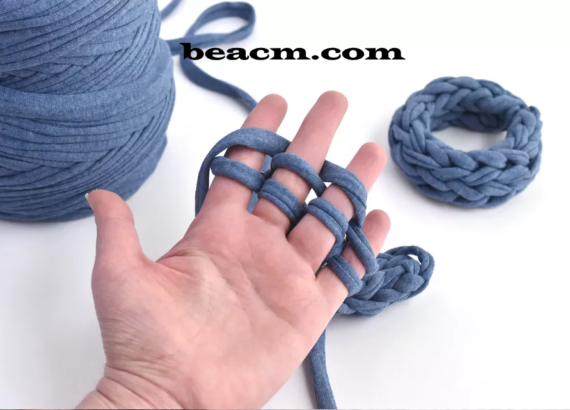
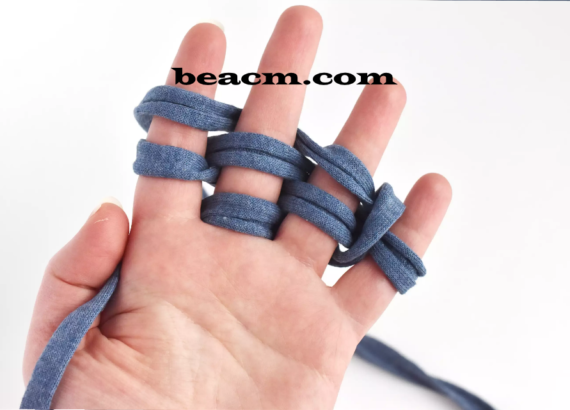
First hold your non-dominant hand with the palm of your hand towards you. Hold the end of the yarn with your thumb and weave the yarn behind your first finger, in front of your middle finger, behind your ring finger and in front of your little finger.
Next, weave the yarn behind your little finger, in front of your bell finger, behind your middle finger and in front of your index finger.
For each row, repeat the process of weaving the yarn over your fingers and then back again so that you can see a loop of yarn on each finger.
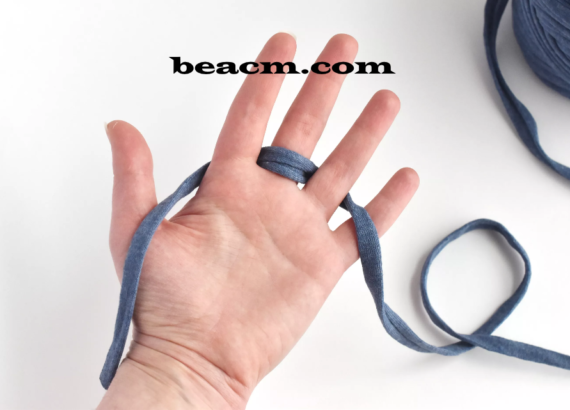
Start your second row
Make a second series of loops on your fingers by weaving back and forth and ending with your index finger. The working yarn can hang on your hand.
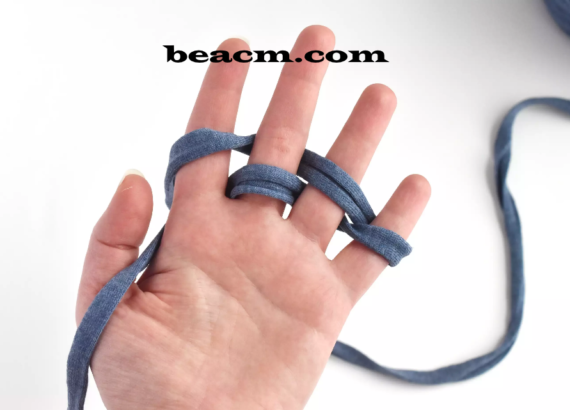
Grinding the yarn back
Start with your little finger and take the lower loop (closest to the palm of your hand) and lift it up over the end of your finger. Repeat this process while working towards your index finger.
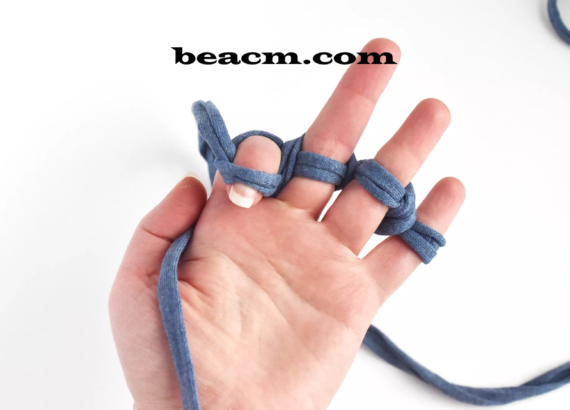
It often helps to bend the fingertip downwards to make it easier to pull off the yarn loop. You may also need to bring your stitches closer to your fingertips. However, make sure that the upper loop does not slip off.
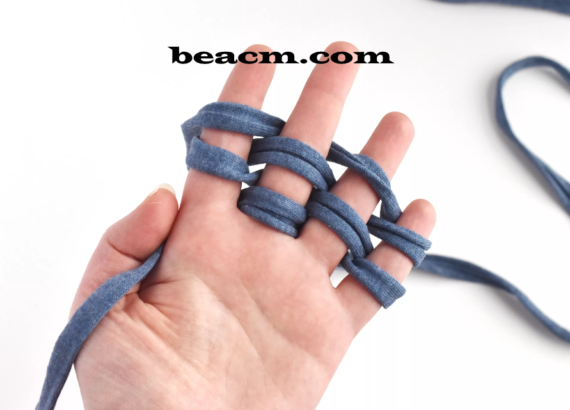
Repeat weaving and sanding
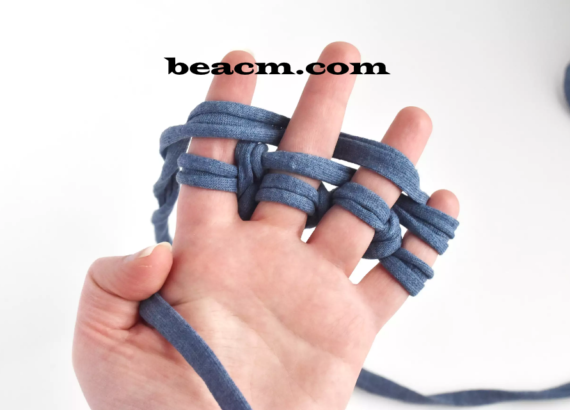
Take the working yarn and weave it back and forth over your fingers again by first walking behind your index finger. When you return to your starting point, you should have two loops on each finger. Lift the lower loops back over the upper loops and off your fingers.
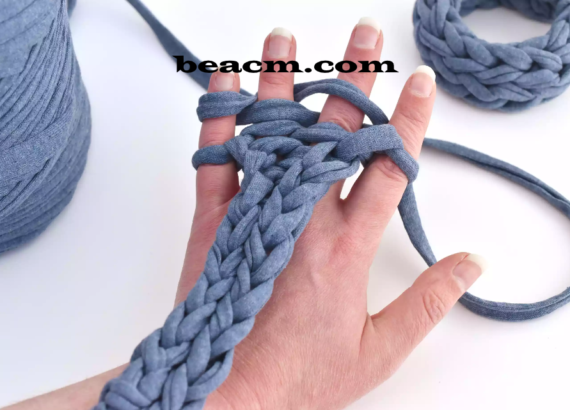
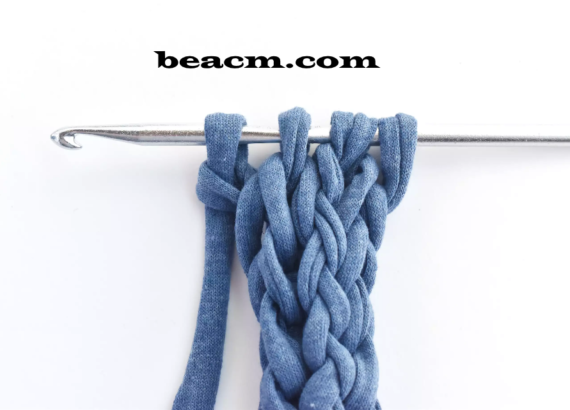
After a few rows you can carefully pull the beginning end of the yarn down to see how the knitting line forms. The right side of the knitting points to the back of your hand, while the wrong side (which curls up at the edges) you can see when you turn your hand over.
Take a break and save your project
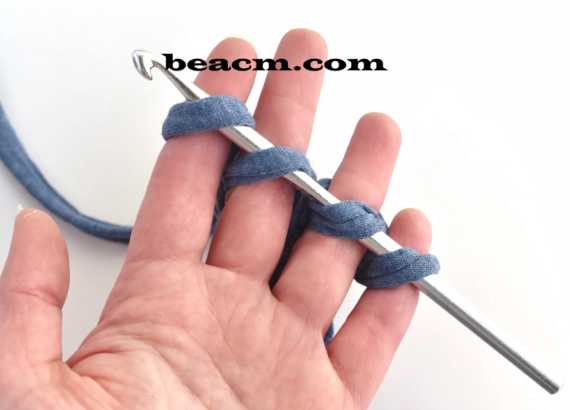
If you need to take a break, use a long, thin object such as a pencil, crochet hook or knitting needle. Push it through each of the loops on your fingers and make sure you push it in the same direction for each loop.
Pull the loops off your fingers while holding them on your placeholder. When you are ready to knit again, push each stitch back onto your fingers. The photo above shows the right side of the knit, which should face the back of your hand when you start knitting again.
End of your knitting project
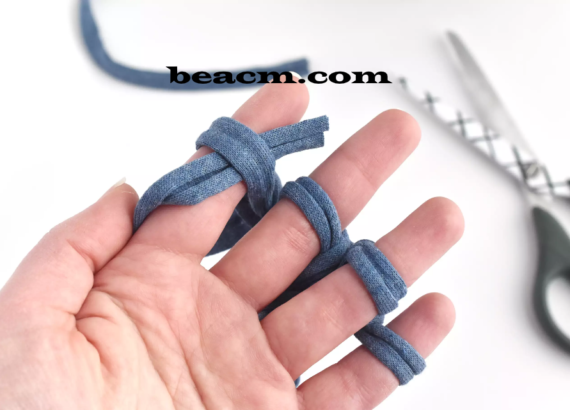
When you are ready to stop knitting after completing a row, cut the working yarn at least 15 cm from your hand. Slide the yarn end under the loop of your index finger and then under each loop over your hand.
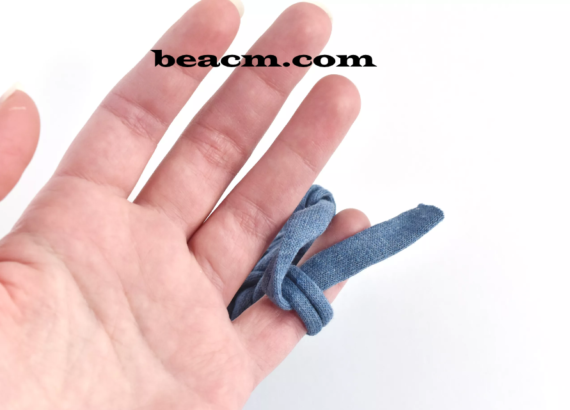
The yarn secures the loops so that you can remove the loops from your fingers. Pull the end of the yarn and tighten the loops. You can weave the ends into the back of the knit or use them for a project if you need to.
Lay out your string
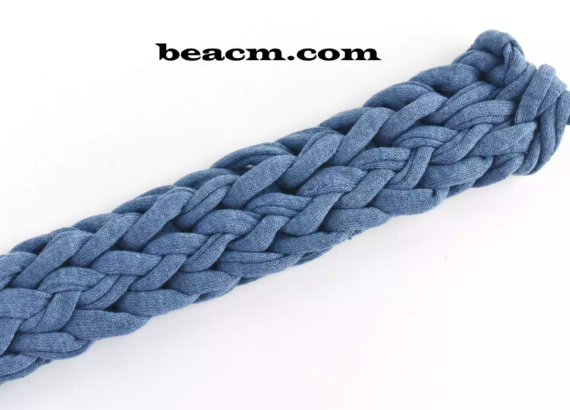
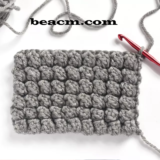
Yarn weights and styles affect the appearance of the finger-knitting cords. Try different types of yarn to see what you like. This T-shirt yarn creates a thick and strong cord that is well suited for making a rug or pet bedding.
To make larger objects from finger knitting, lay the lengths of string next to each other or start a spool. Use a needle and a strong thread or more yarn to sew the knitting line together.
Tie your bracelets together
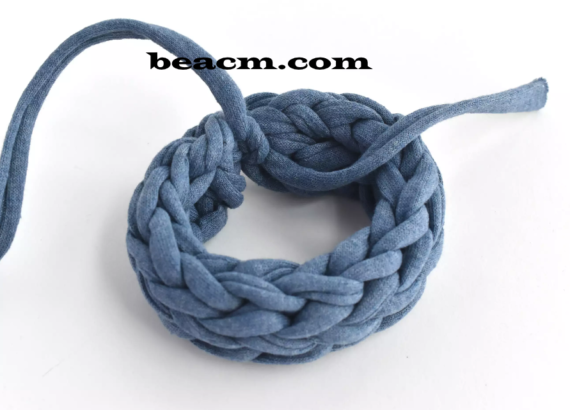
It is also fun to make jewelry or headbands! To make a finger knitting bracelet, knit a piece just long enough to wrap around your wrist.
After you have secured or set the stitches, bring the ends together and tie a knot with the yarn ends. Use a crochet hook to weave the yarn through the ends and then through the back of the stitches.
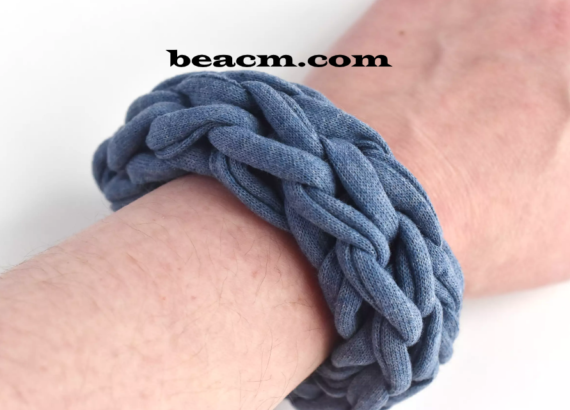
Wear your new statement bracelet and show off your handiwork! You can use the same technique to create a headband or necklace. Use a shorter piece for a chic necklace and don’t attach the ends to a clunky jewelry chain instead of joining them together.